
The Lions squad line up pre-match

Dan Sheehan celebrates his try

Tom Curry dives over for his try

Tadhg Beirne crosses in the corner
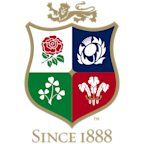
Hugo Keenan celebrates his decisive last-gasp try

Hugo Keenan is held aloft at full time

The Lions players celebrate

Jamison Gibson-Park celebrates with Finn Russell

James Lowe on the lap of honour
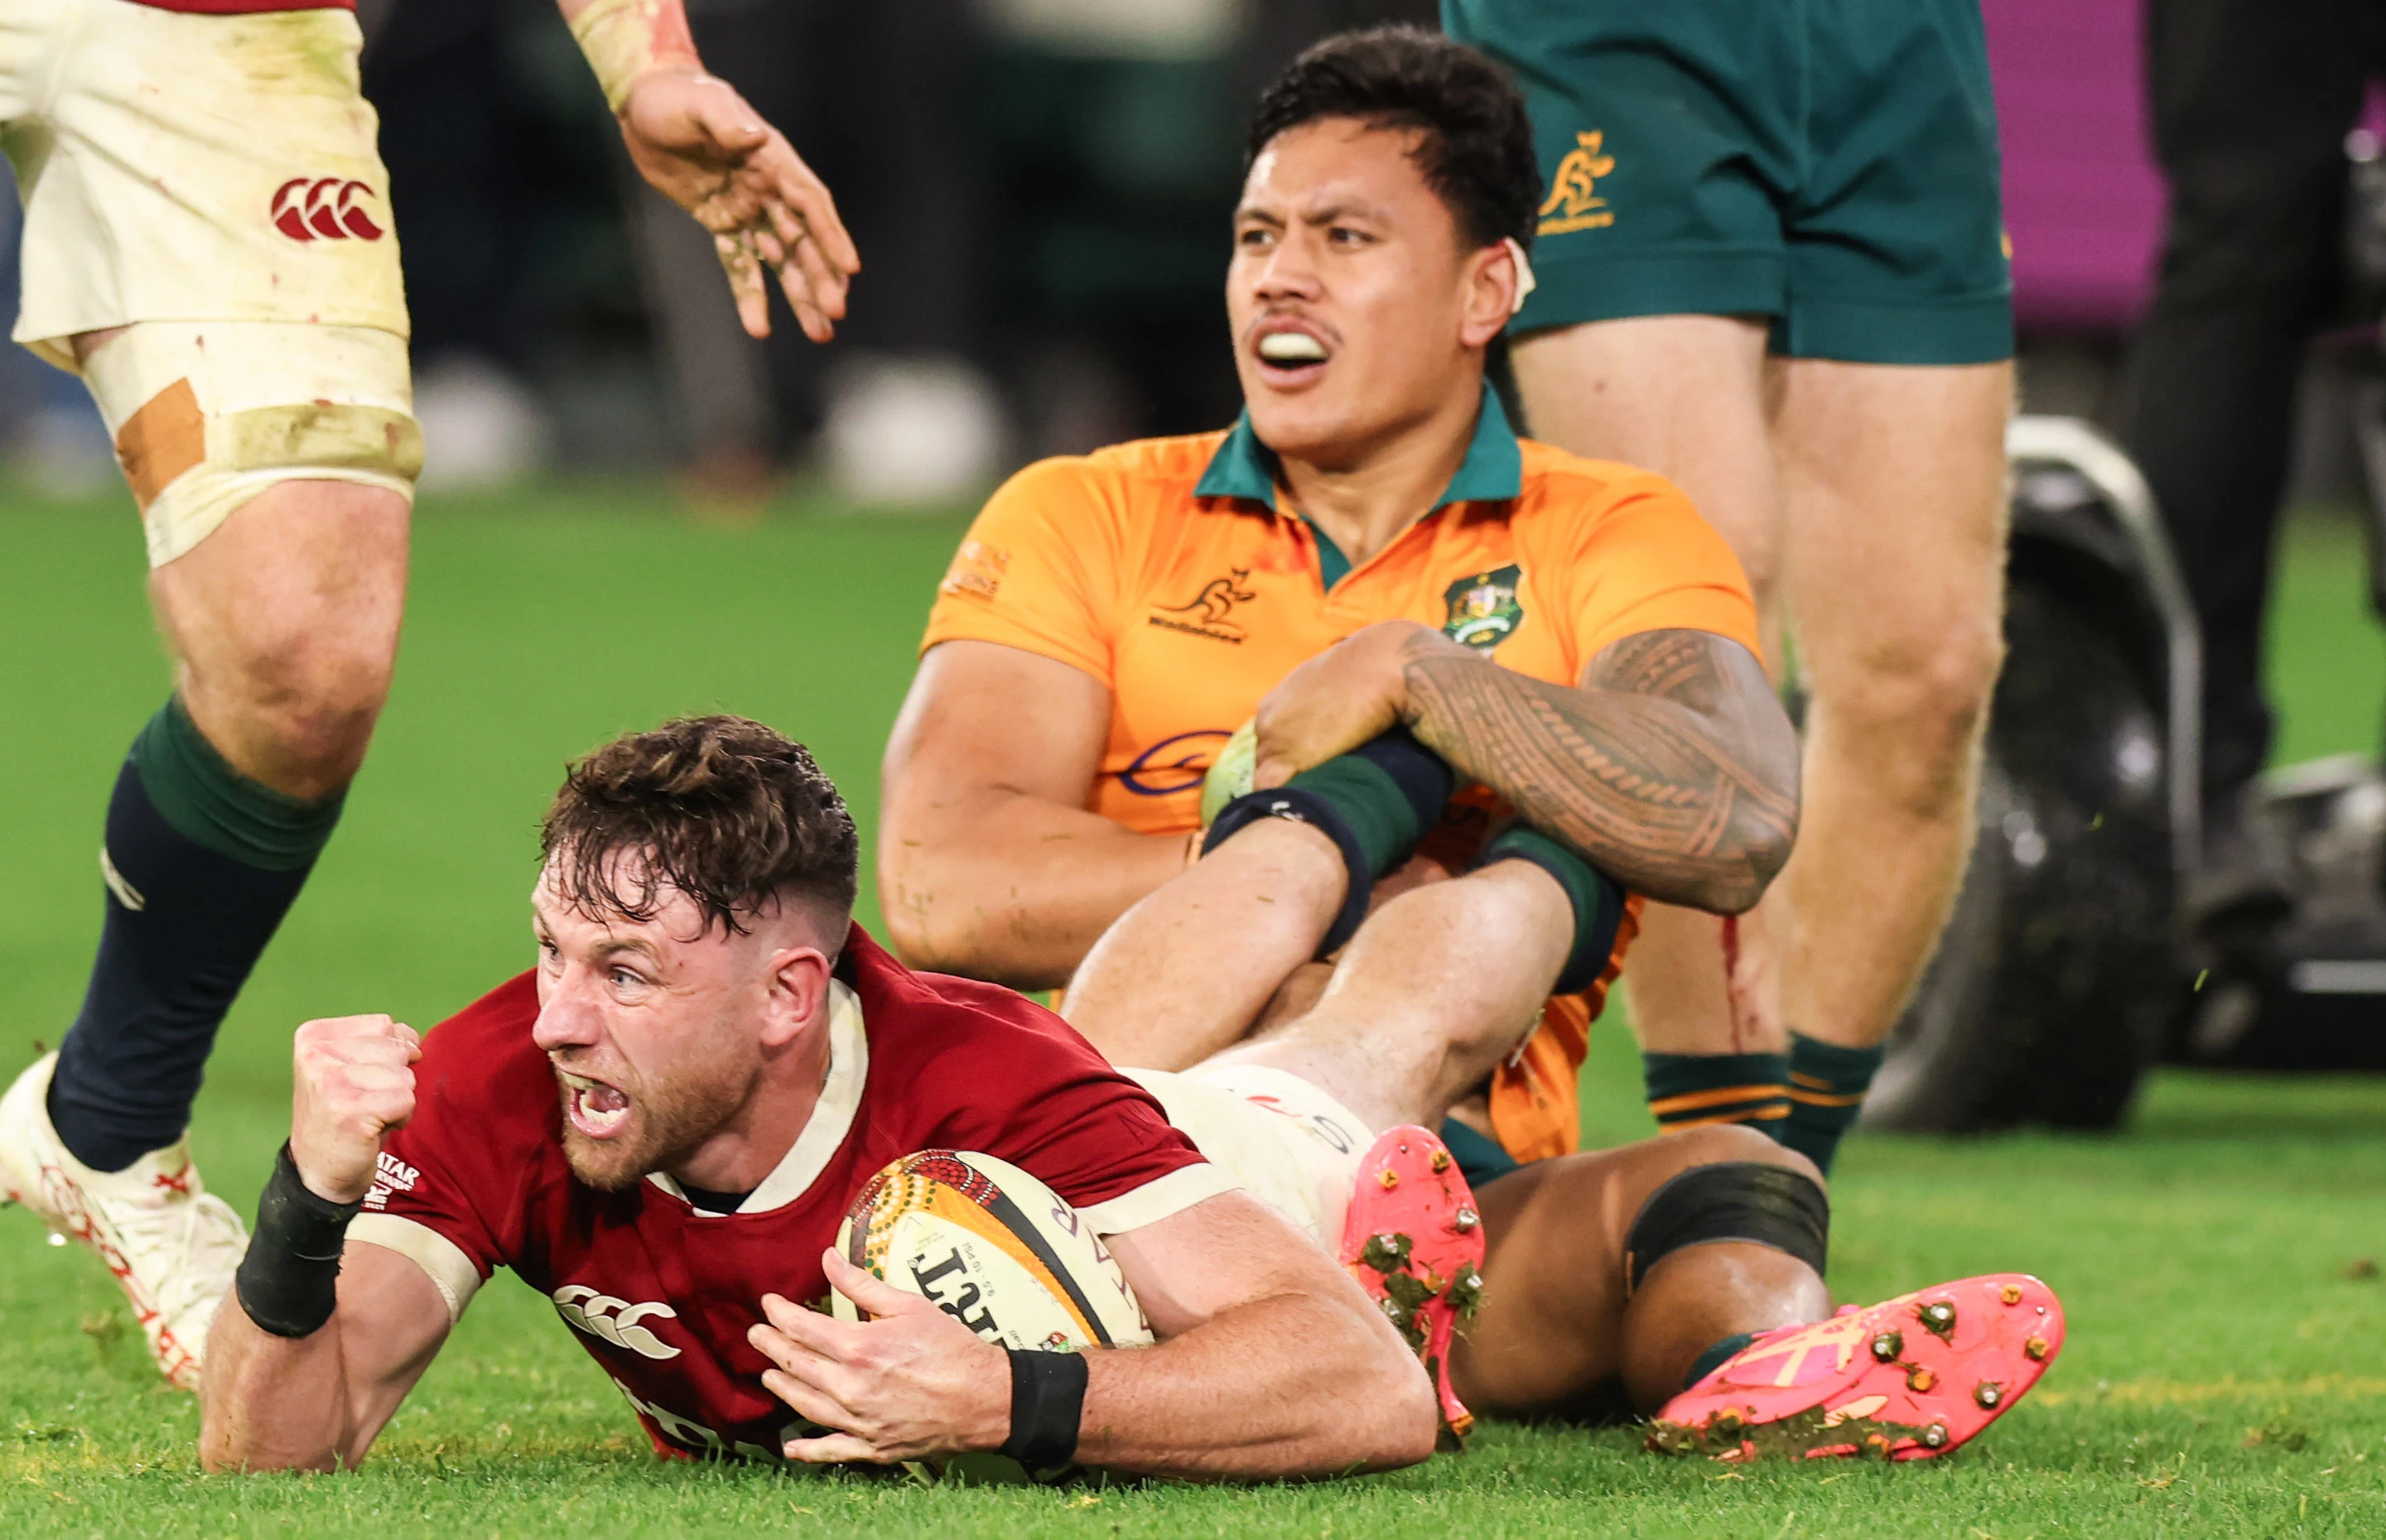
Maro Itoje on the Lions lap of honour at the MCG

Bundee Aki celebrates with a double fist pump
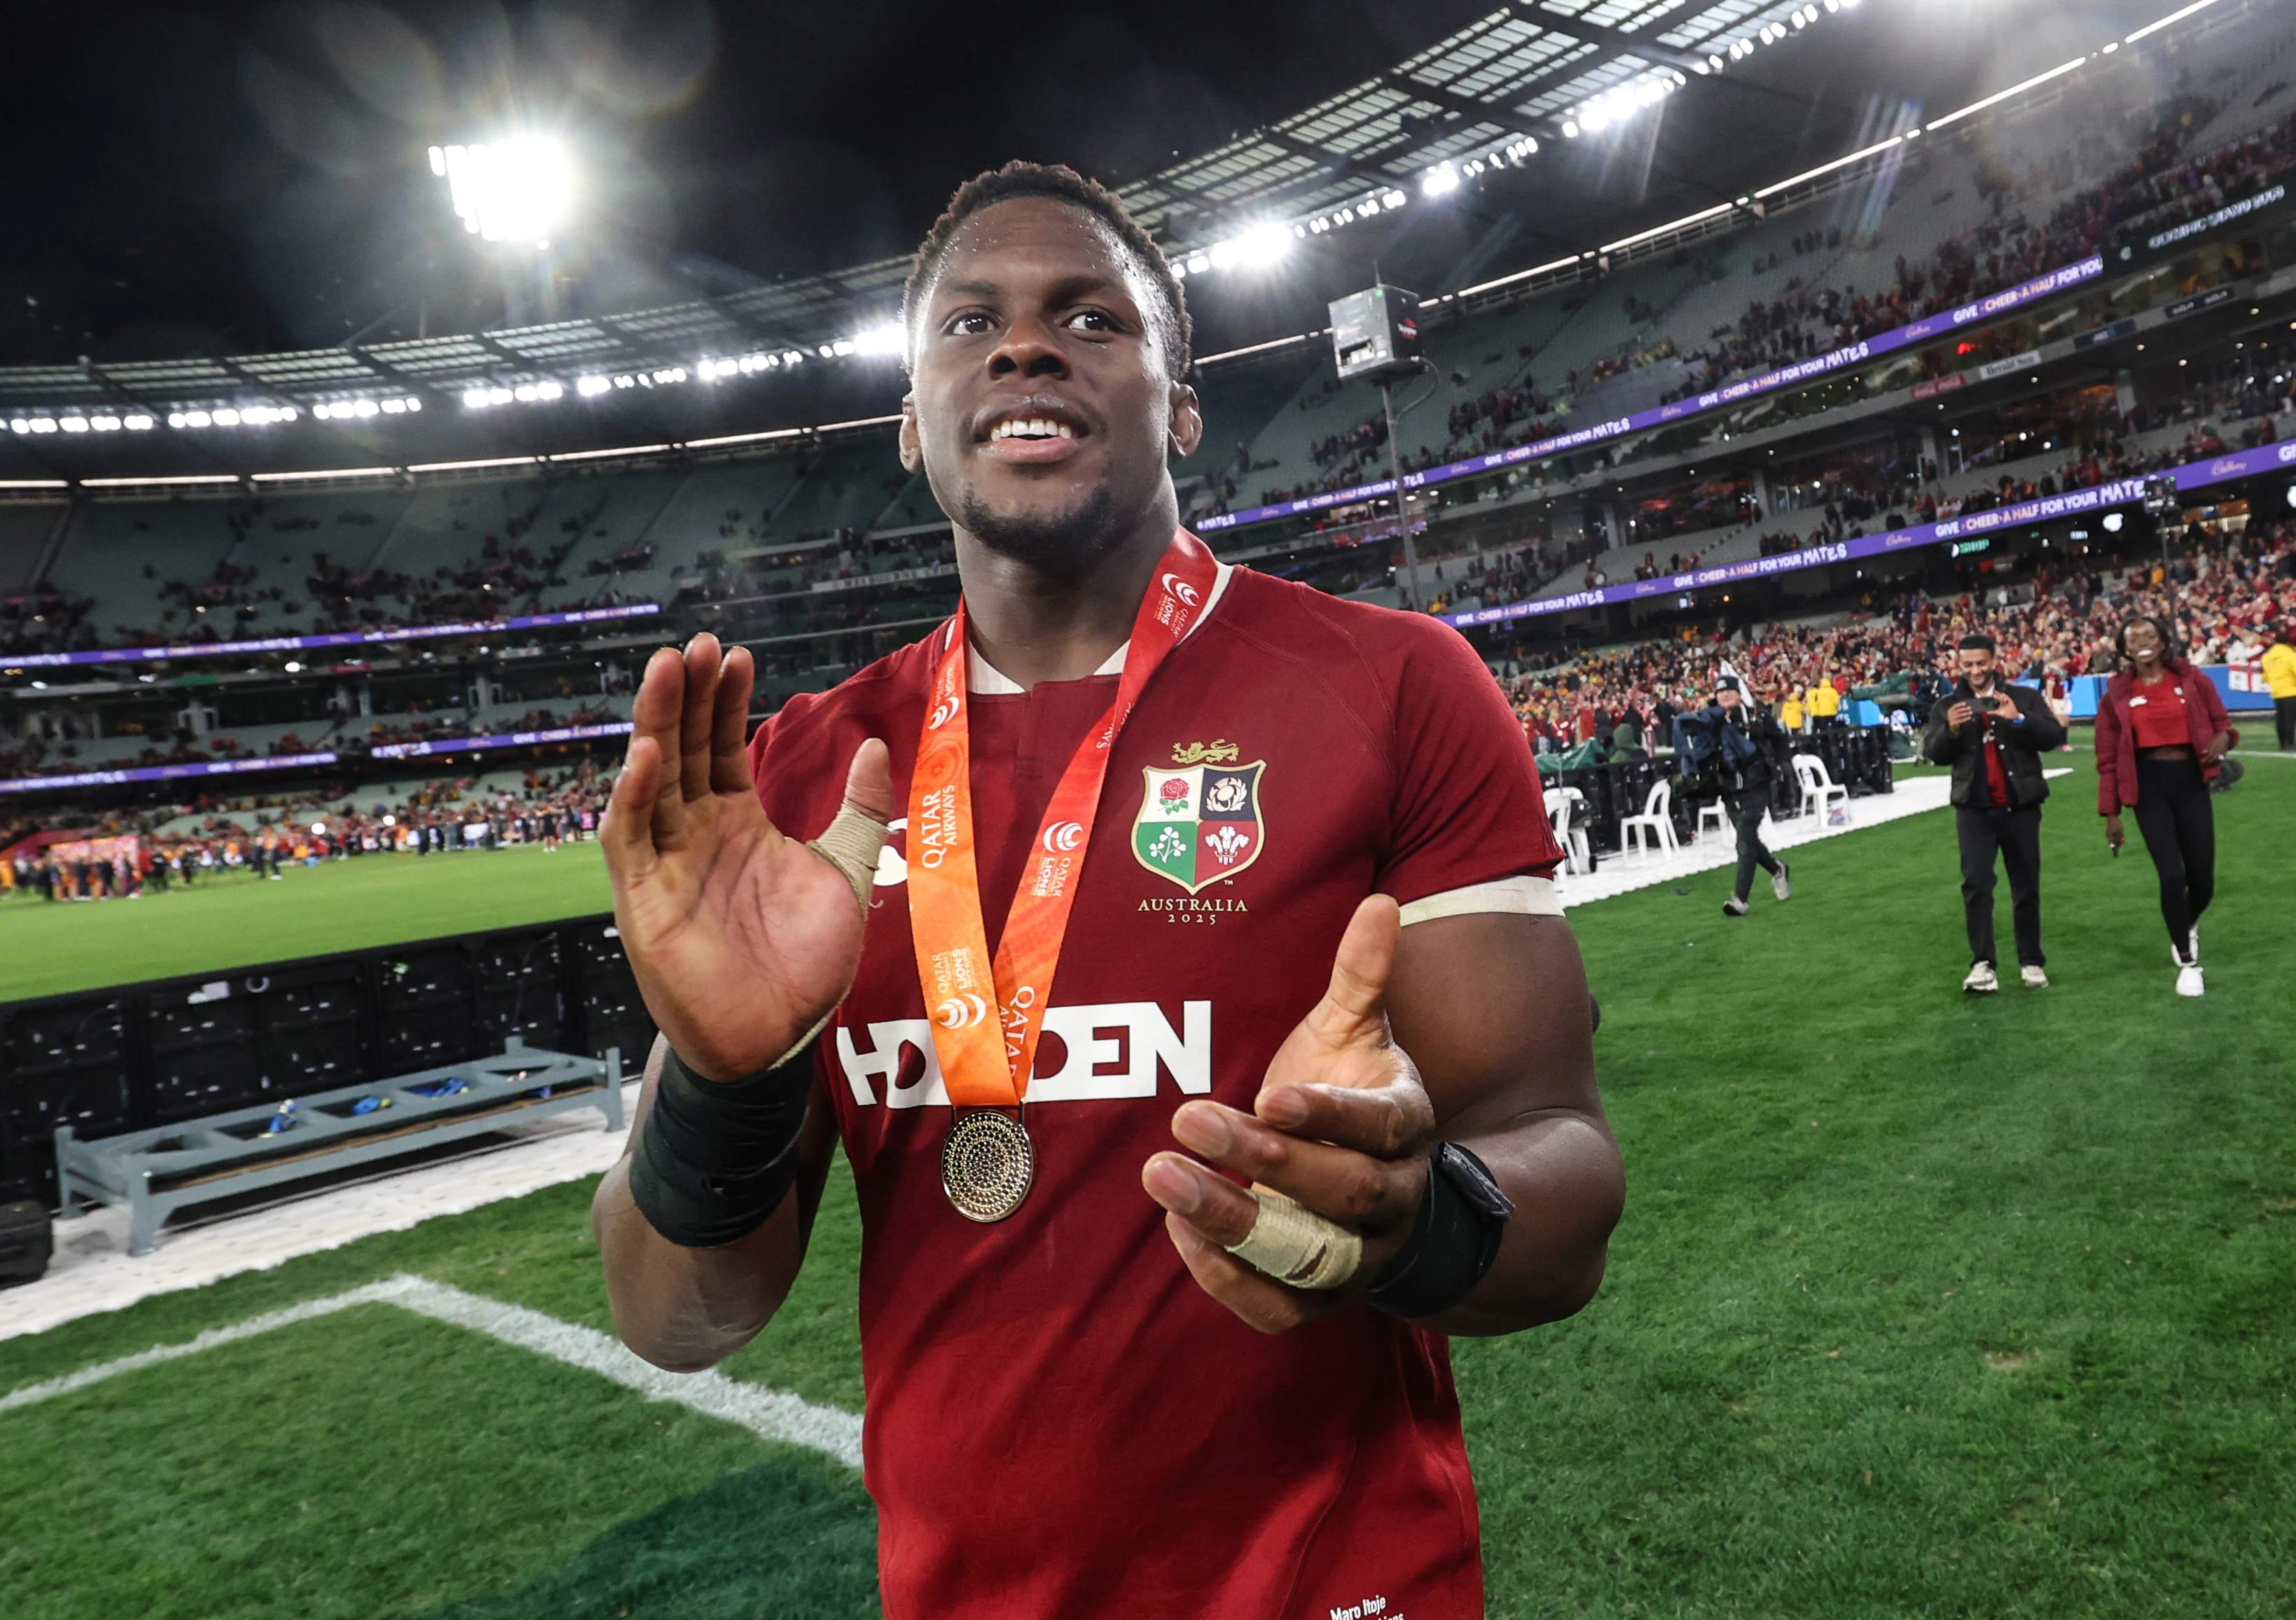
Owen Farrell salutes the Sea of Red

The crowd at the MCG topped 90,000 - a record for a Lions Test

Andy Farrell embraces No.8 Jack Conan
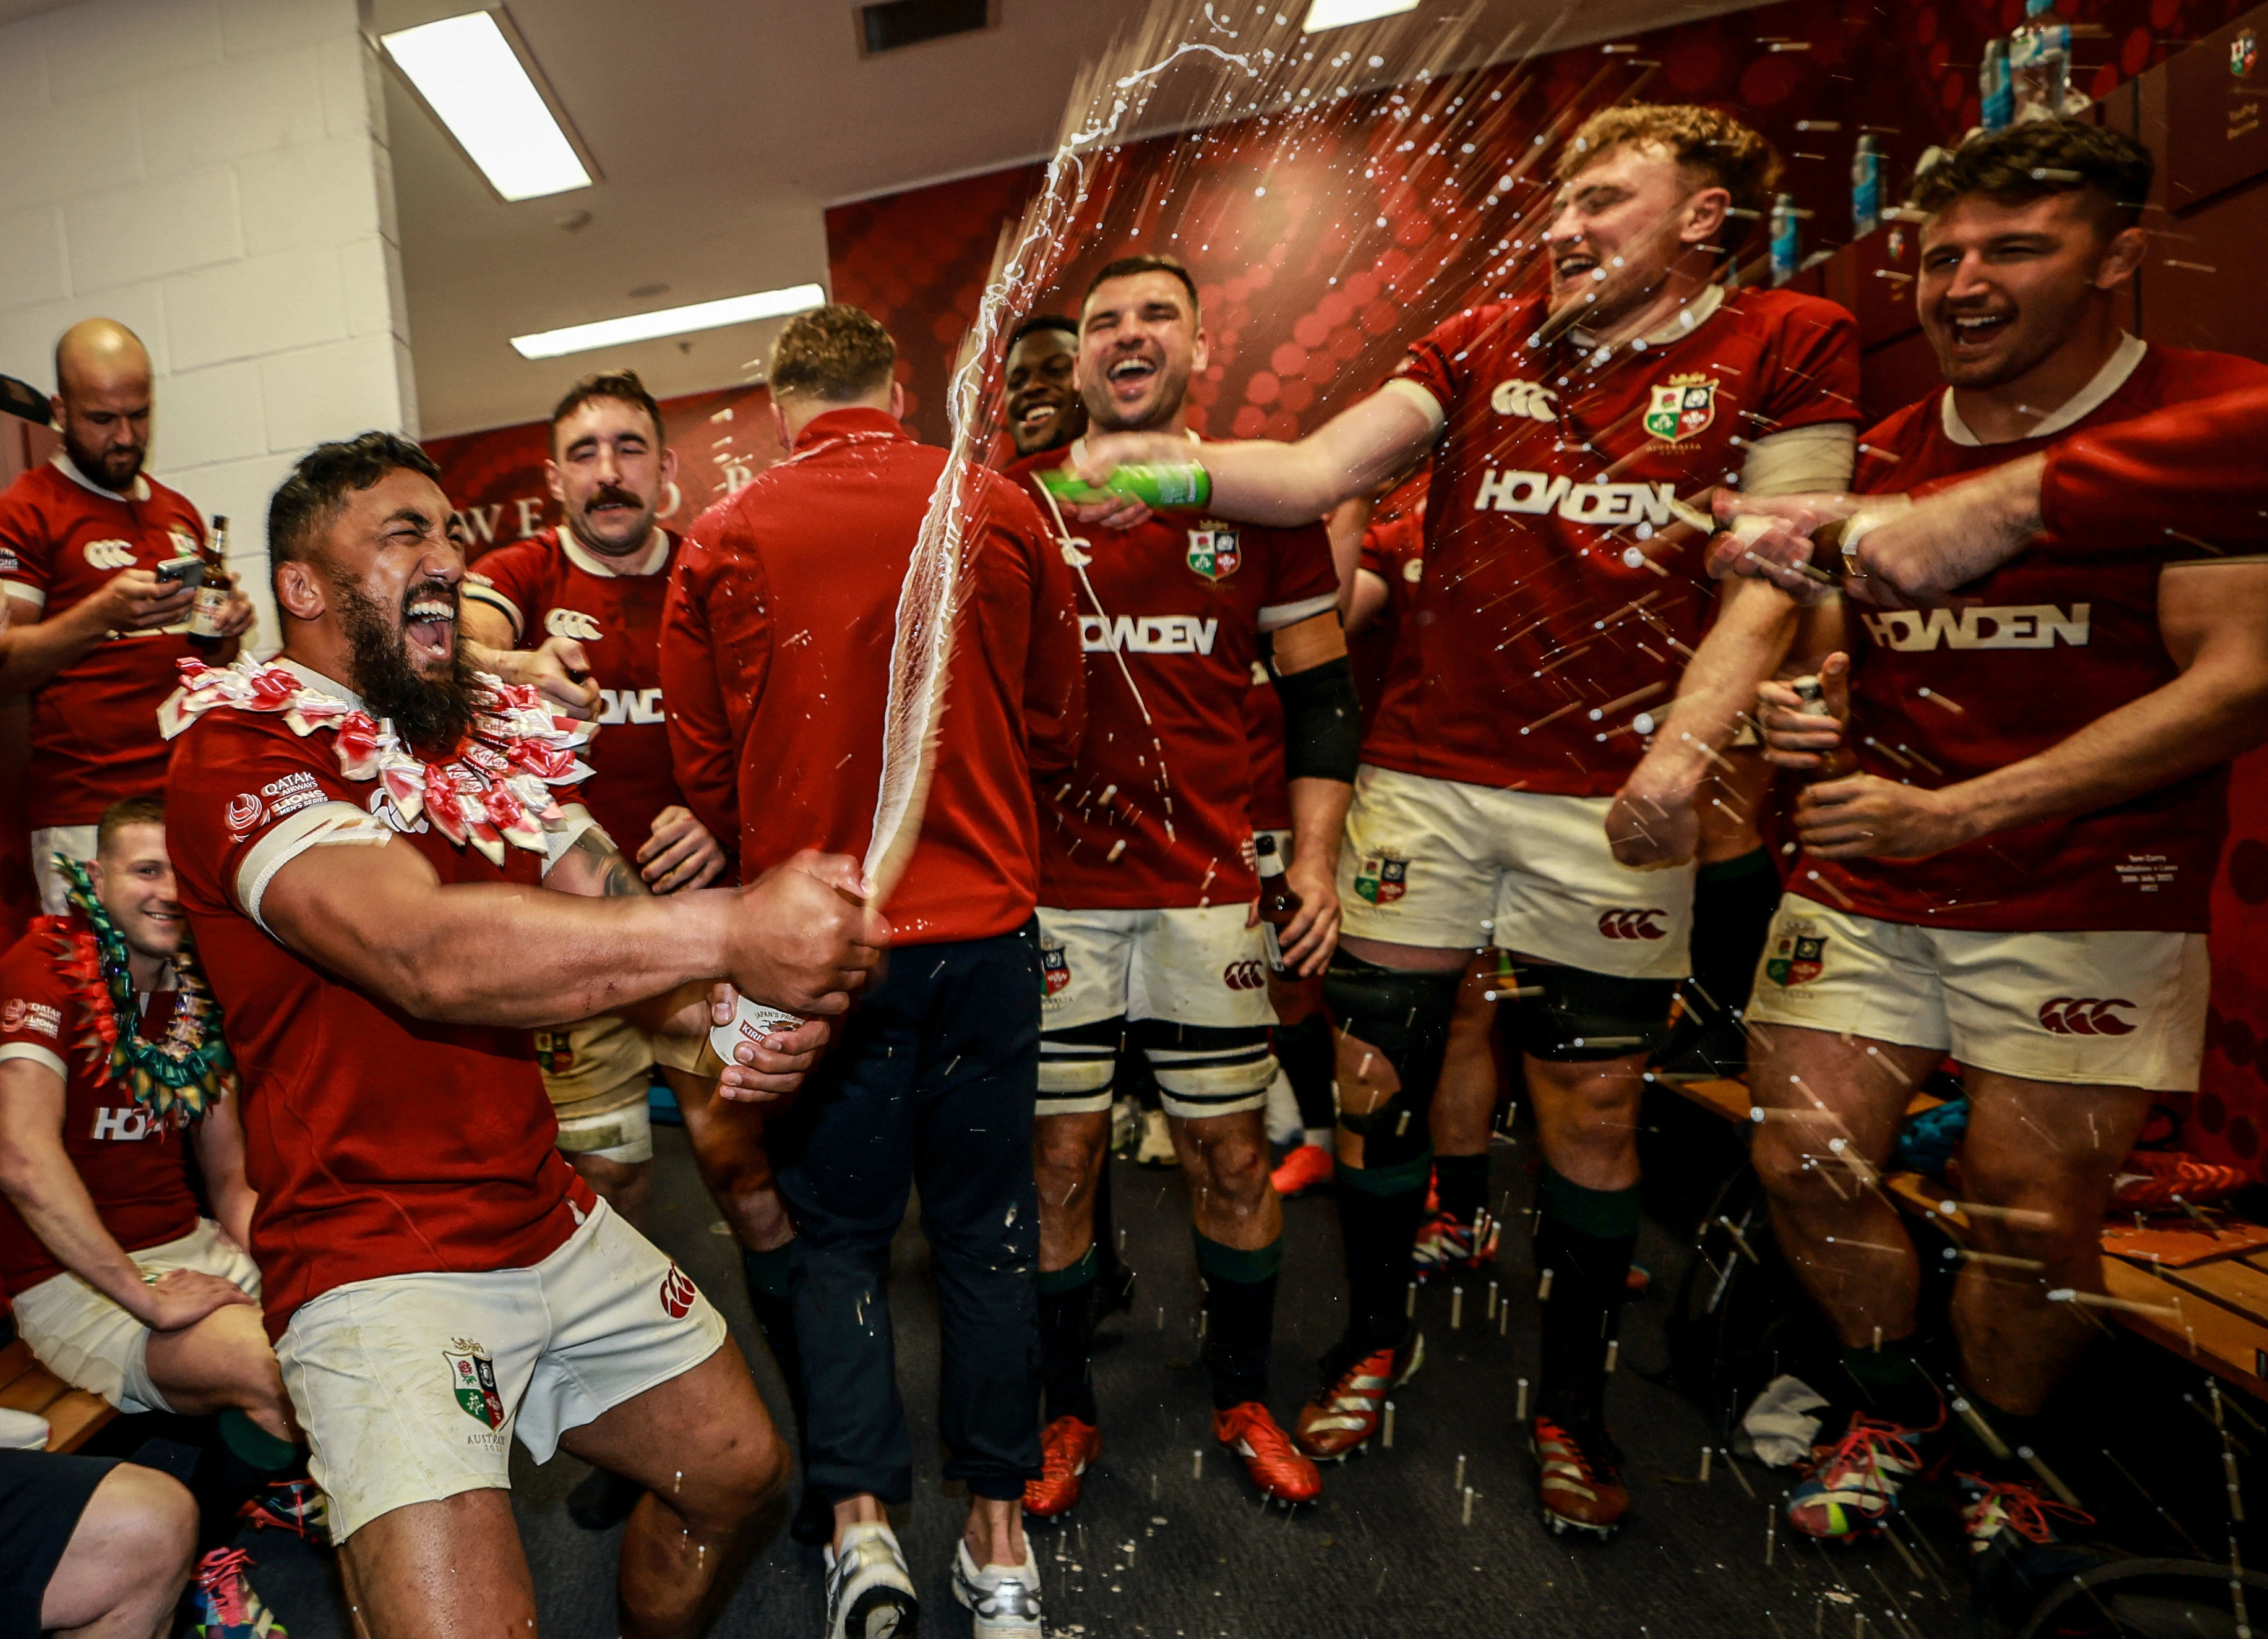
Bundee Aki gets the celebrations started

Tadhg Furlong prepares to lead a victory song

Tadhg Beirne and Tom Curry in the thick of the celebrations

Tommy Freeman with a KitKat necklace

Maro Itoje with his Player of the Match medal
It could hardly have been more dramatic.
The British & Irish Lions roared back from 23-5 down to stun Australia with a 29-26 victory in Melbourne, sealing a series triumph in the process.
Check out the match coverage below and relive the action in pictures...
Explore

